

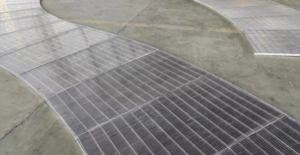
A press-locked steel grating drawing should let the fabricator identify every panel without interpreting a photograph or a product nickname. Use this checklist when reviewing the panel schedule; use the separate load review when deciding whether the proposed section is suitable.
Define dimensions without ambiguity
Label the finished panel length and width and show the bearing bar direction with an arrow. Record bearing bar depth and thickness separately. For each spacing dimension, state whether it is centre-to-centre pitch or a clear opening. Do not rely on the orientation of the drawing sheet to identify the load-bearing direction.
Identify the proposed construction
Ask the fabricator to identify its press-locked construction and the bar arrangement shown in the offer. Where the appearance of the two bar directions matters, request a section drawing. The words pressure locked or press locked should not substitute for the dimensions and construction details required by the project.
Show the details that change fabrication
- Give each panel a unique mark and quantity.
- Dimension notches, holes and service openings from a defined datum.
- Identify the edges requiring banding or other treatment.
- Show toe plates, fixing locations and interfaces with adjacent panels or frames.
- State the drawing tolerances and how finished dimensions will be inspected.
Release one controlled drawing set
Record the revision accepted for production and reconcile it with the purchase order. If an opening moves, review the affected bar arrangement and supports before approving the revision. Keep superseded drawings out of the production package and ask for written confirmation of any dimensional exception.
What this checklist does not establish
A complete panel drawing still needs the material, finish and project load requirements. Read the material and load review, or return to press-locked steel grating product options. Send the accepted schedule with your quotation request.