

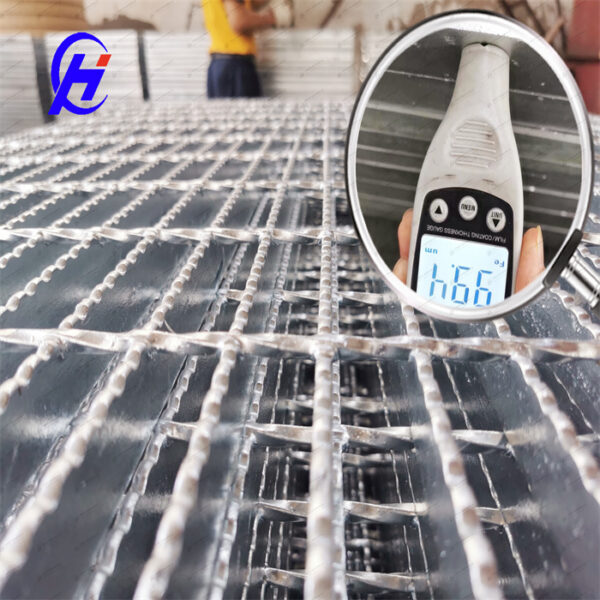
Inspect serrated stair treads against the accepted tread drawing and surface requirement. A visible serrated pattern does not confirm that the leading edge, connection or installed orientation matches the stair design.
Check the delivered tread
Match the tread mark, dimensions and finish to the schedule. Confirm the specified surface and leading-edge detail. Record visible damage with the item identification before the treads are distributed for installation.
Review orientation and interfaces
- The designated top face and front edge.
- End connection arrangement and hole positions.
- The approved relationship between the tread and supporting structure.
- The specified leading-edge or nosing components.
- Required fixings and supplied accessories.
Keep surface evidence with the project record
If the project specifies surface-performance evidence, confirm that it represents the supplied product and required condition. Do not treat a visual inspection as a replacement for that evidence or for the stair’s structural acceptance.
Record deviations before correction
A mismatch in holes, edge detail or tread position should be referred to the responsible reviewer. Avoid an improvised alteration that conceals the discrepancy. Record accepted corrective work against the tread mark and drawing revision.
The tread dimension and connection guide explains the drawing inputs. The surface-claim checklist helps review supporting evidence.